I finally have determined my style but I don't know what to call it; Flat Painting?
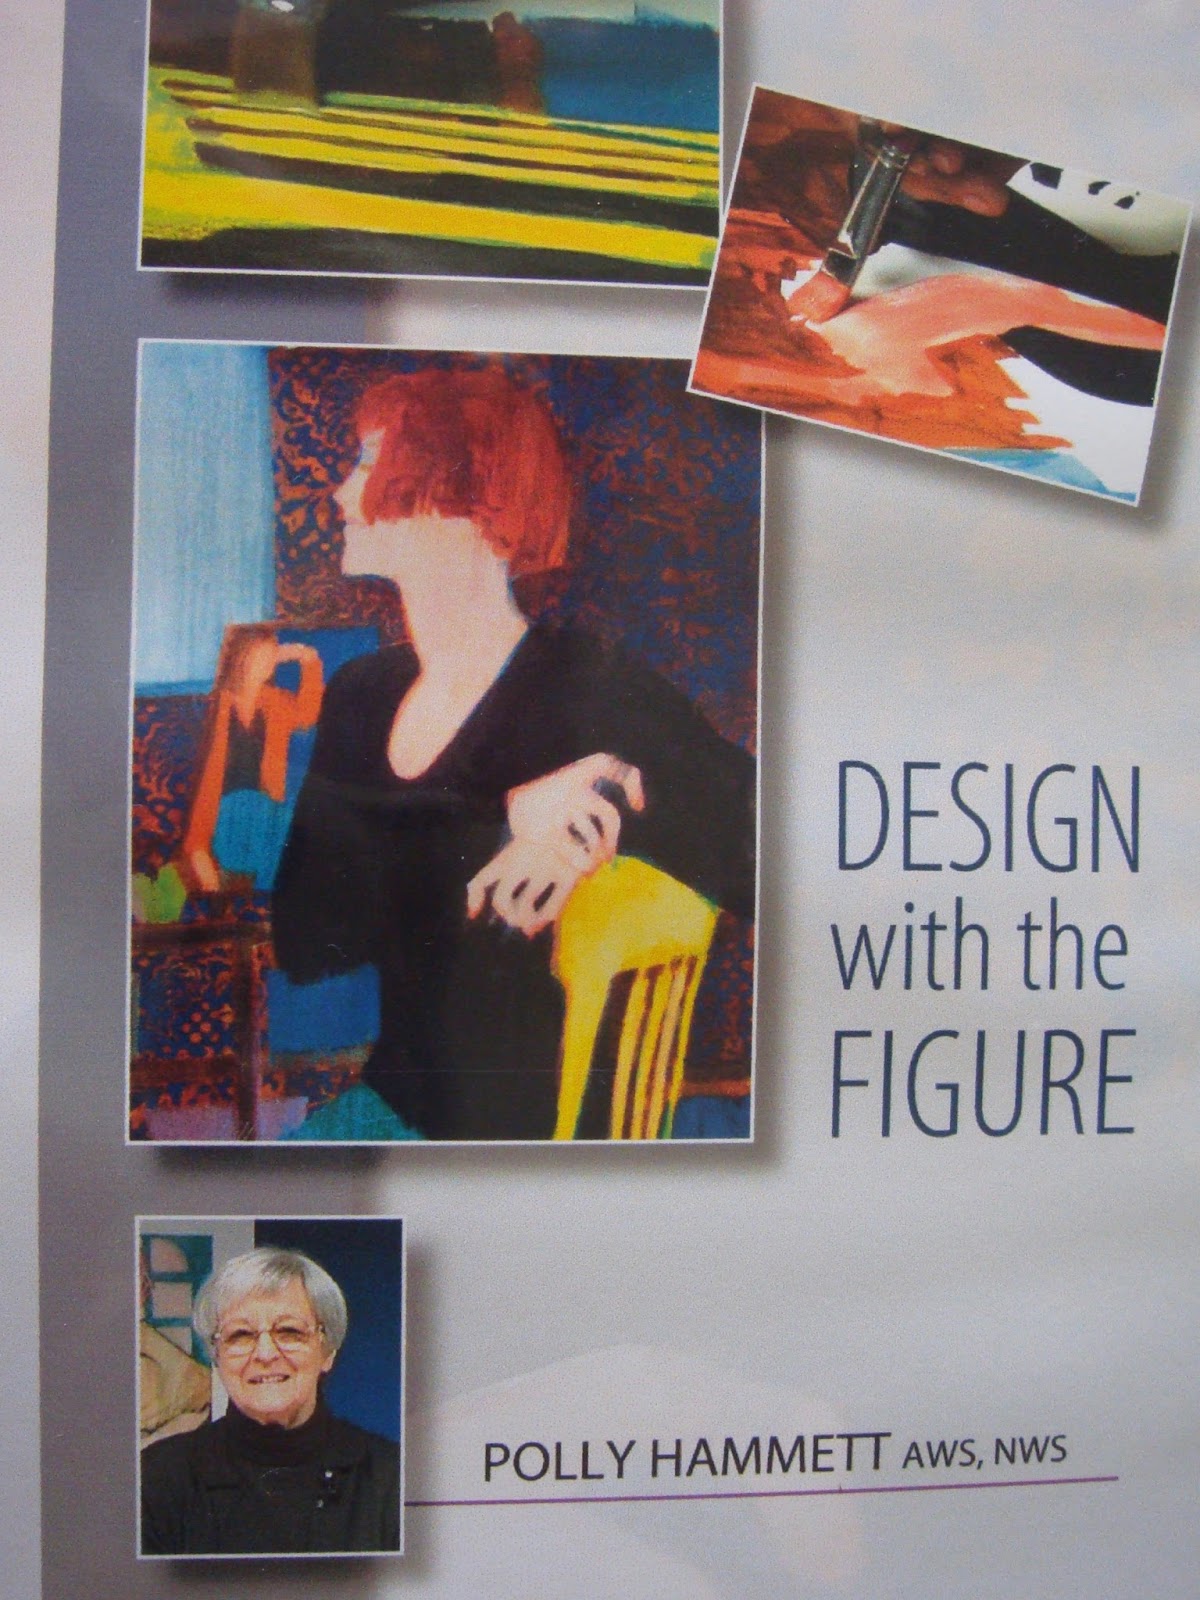
While re- reading my art magazines I came upon an article interviewing Polly Hammett and liked what I read. Next I U Tubed her and liked what I saw.
Polly has a loose, simplified but dramatic style as she paints the human figure. I have found an artist that I emulate so that will be my starting point. All of her techniques check off my boxes and all this time I have been trying to stick the proverbial round peg into the square hole.
The next logical step is to order a book or DVD of hers to learn from. I may have missed it but I did not find a book but I did find her DVD
Design with the Figure which I have played about five times while taking notes.
Let me try to review the Five Step process that Polly uses:
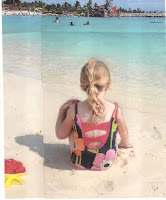 |
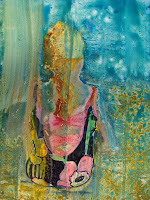
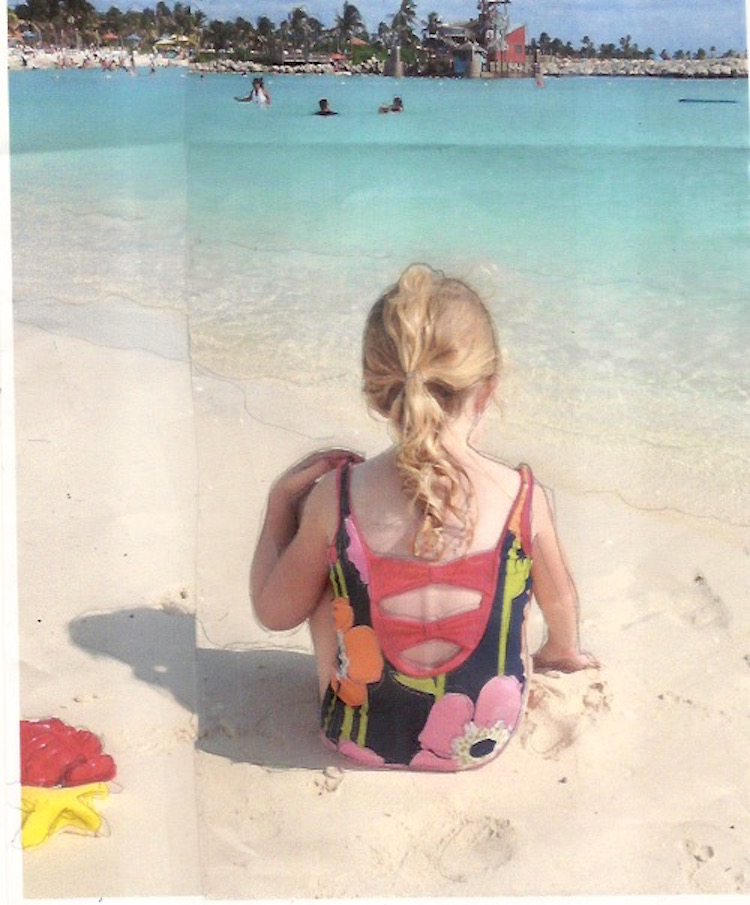
| Photo: Laurel on the beach. |
Polly uses live models that she sketches from and takes photos of. I am using my grand daughter as my model.
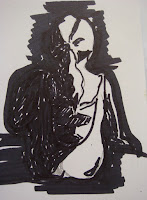 |
My value study.
|
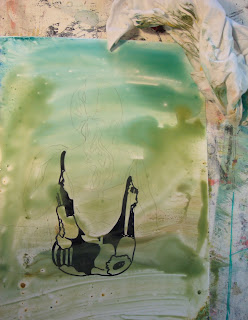
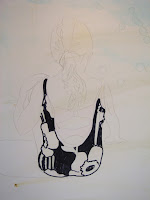
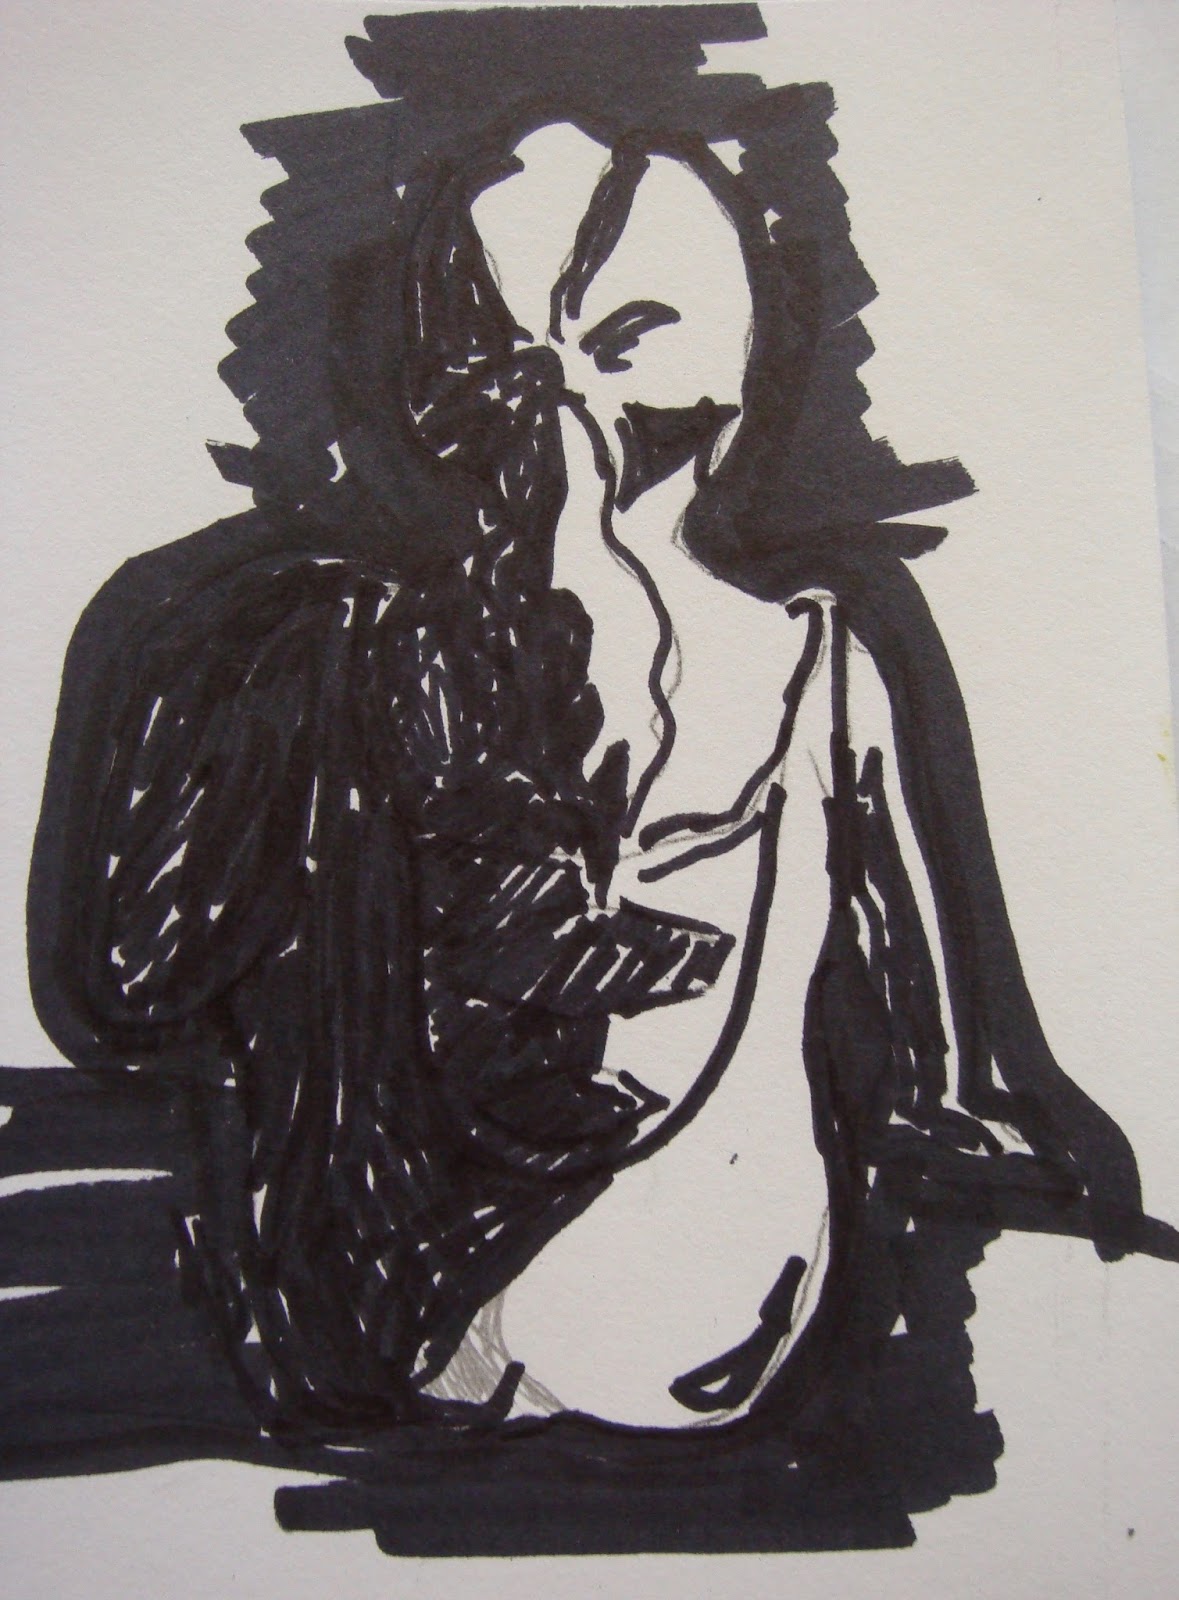
Step 1.
Notan
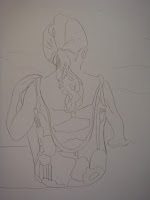 |
I enlarged the photo then transferred it onto Yupo.
Polly uses Vellum paper.
Make contour drawings which are turned into several 2 value studies to see which one pleases your sense of design. Here I have one dark / one light ratio but with a more intricate background you could have different number of light to dark ratios. I found it difficult to not mark in the local shadows of the photo. Polly says to not focus on the "things", instead go for the value shapes. |
 |
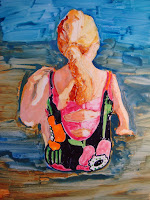
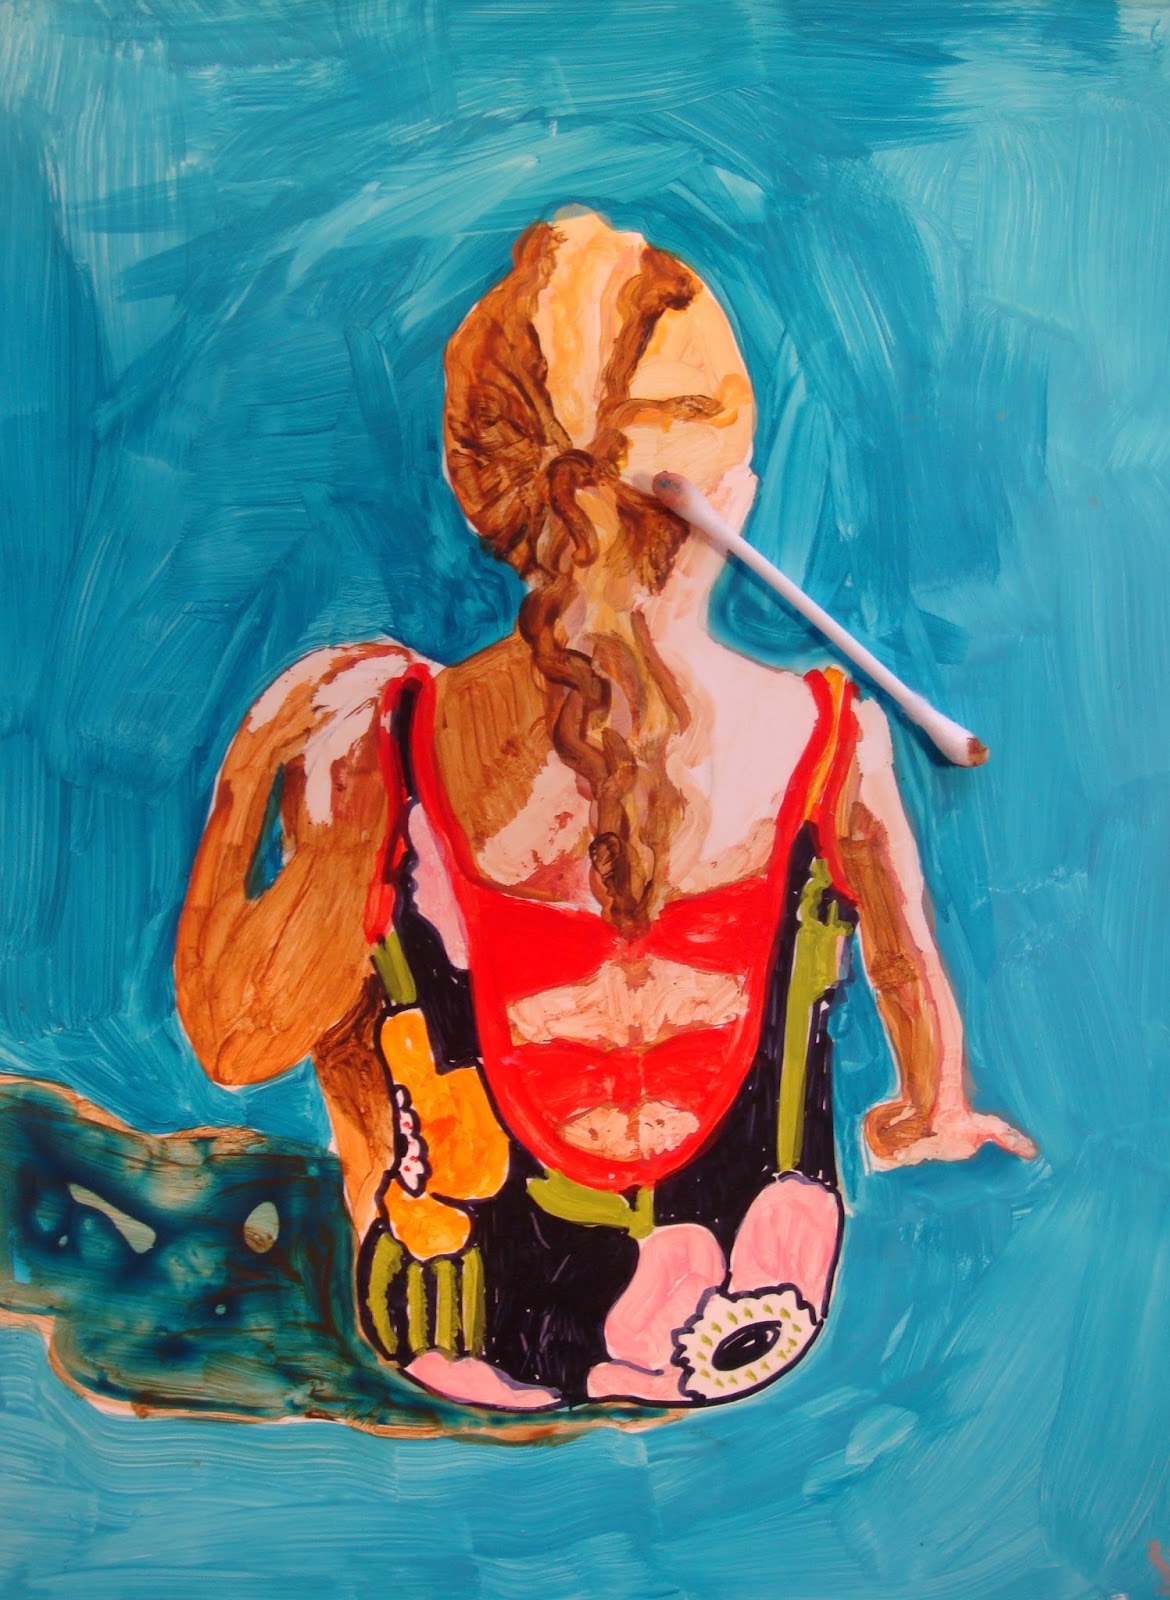
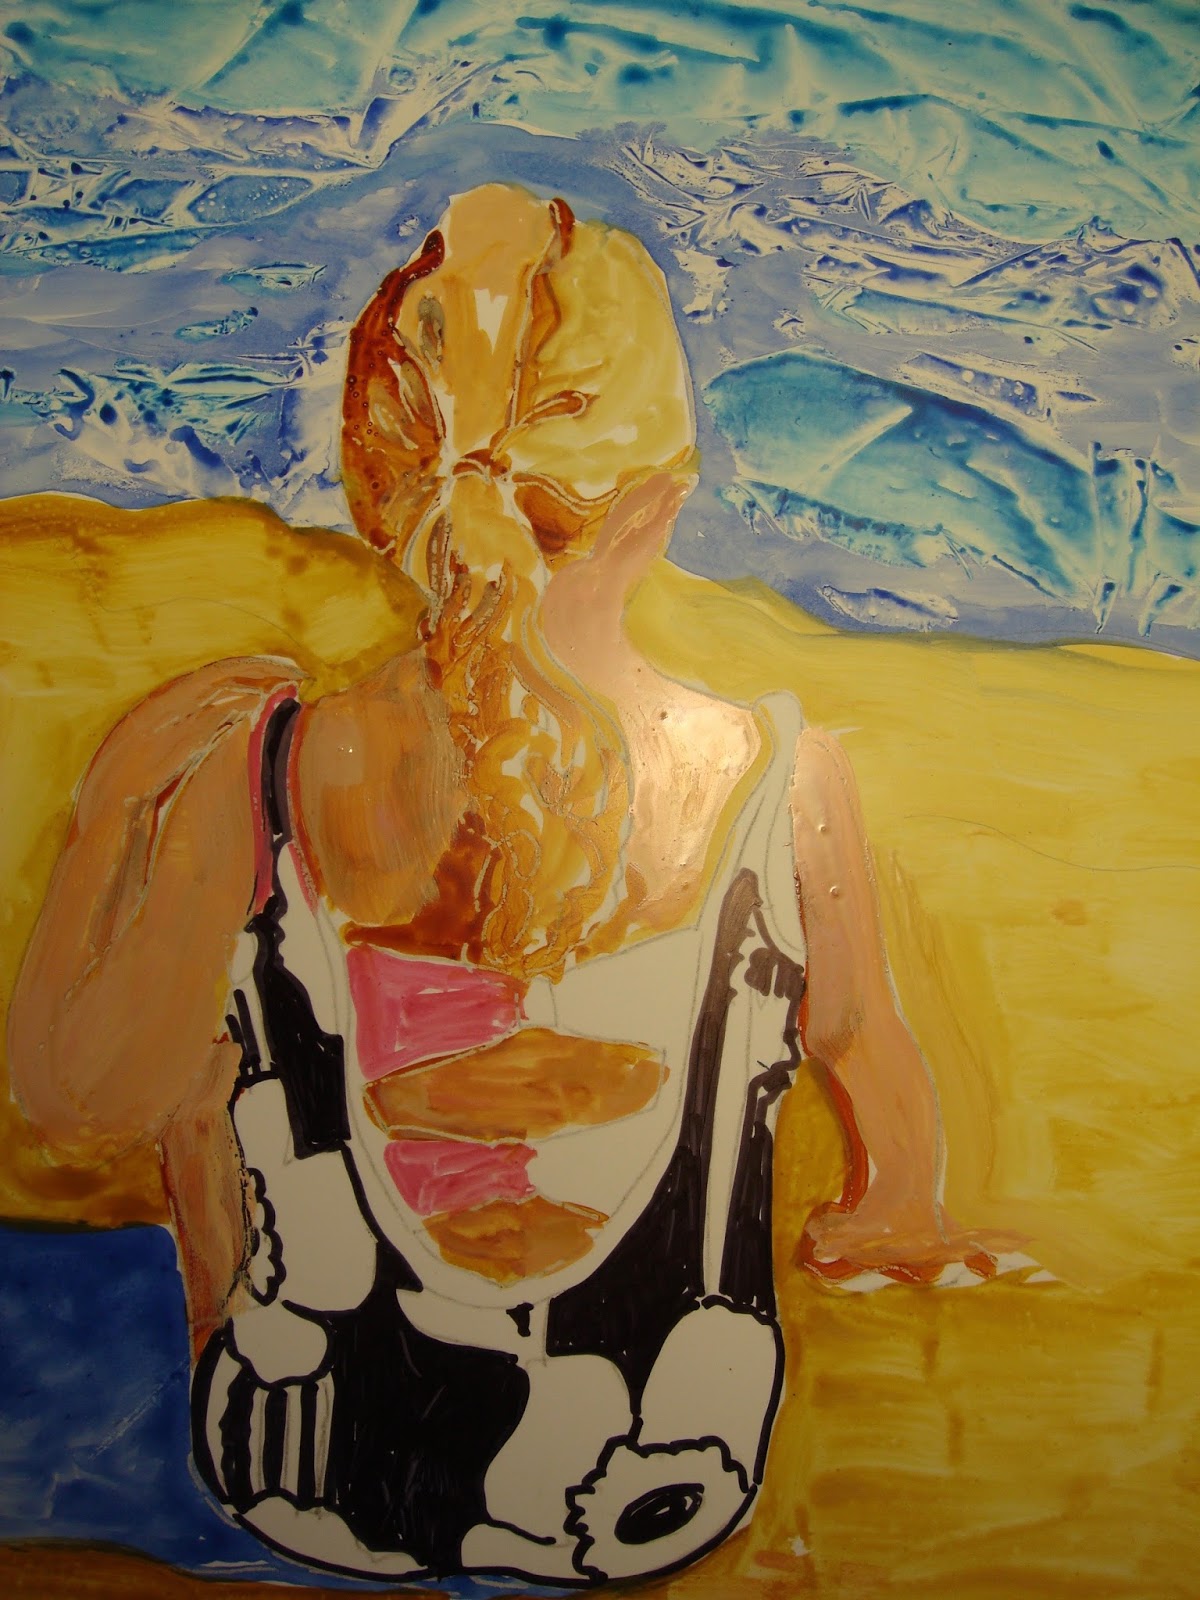
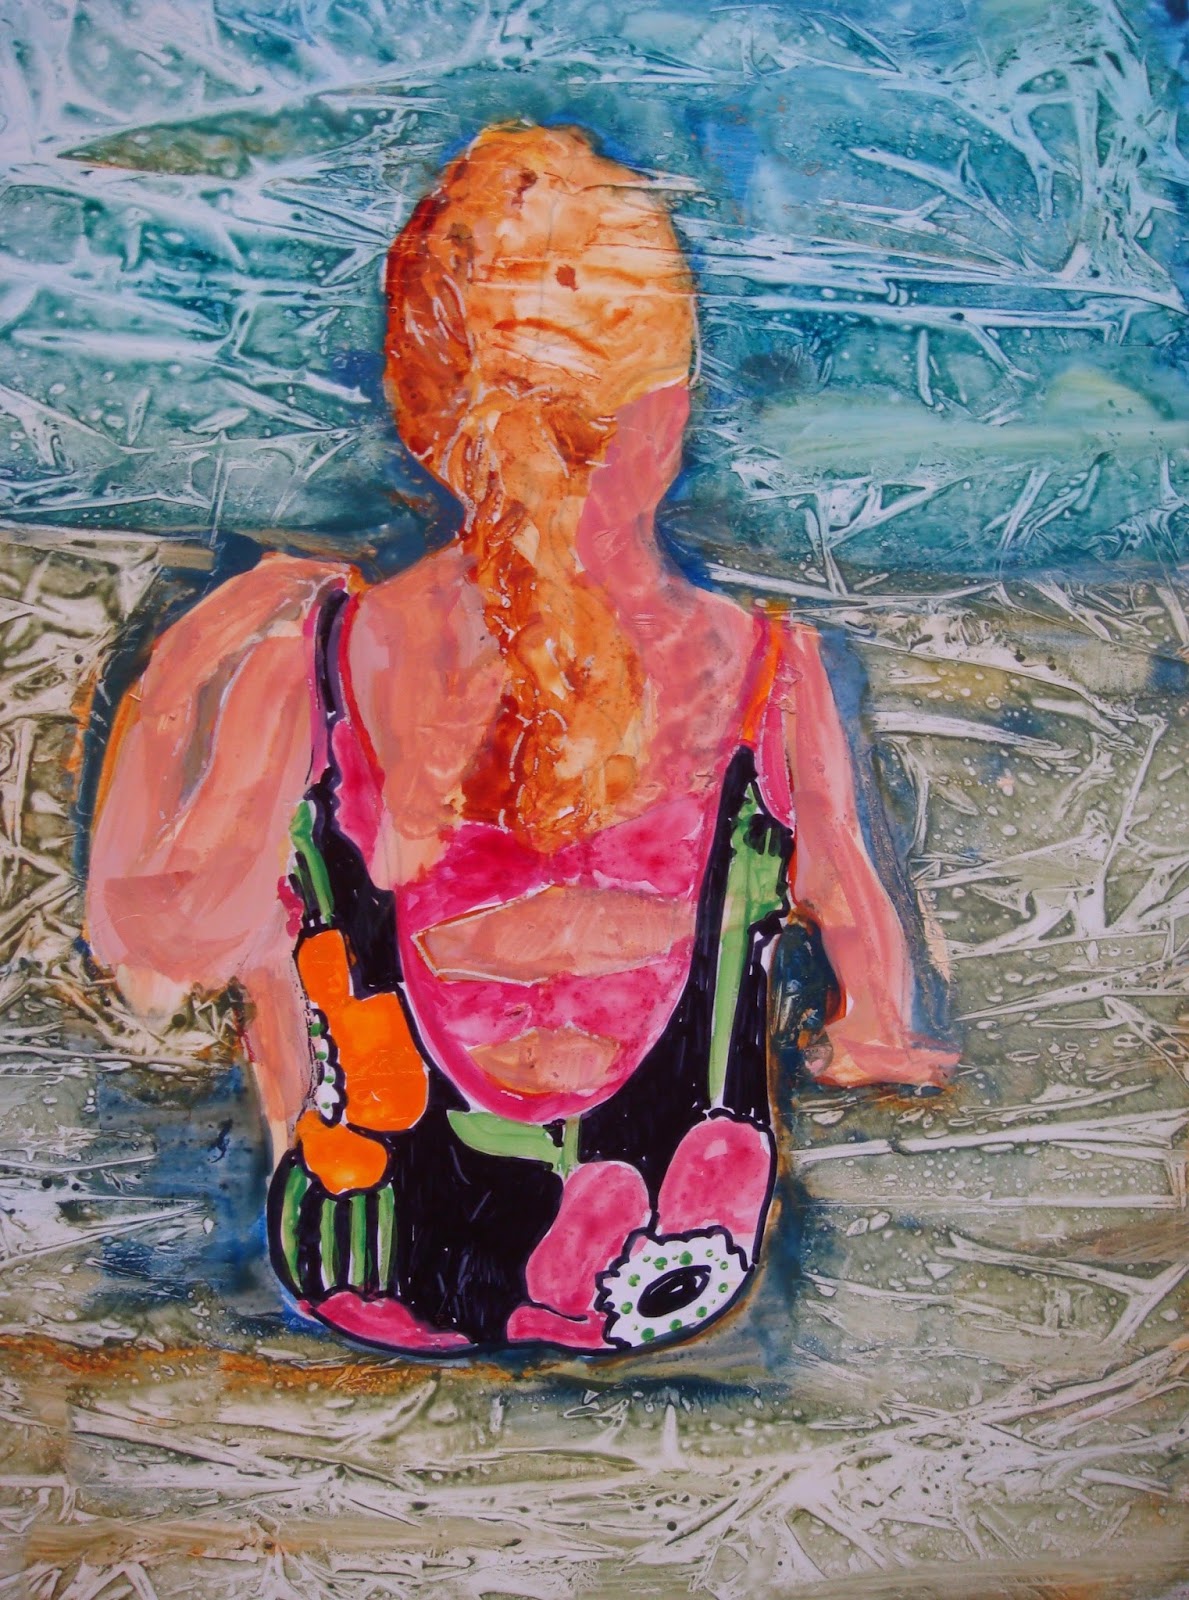
First attempt at blocking colors.
Step 2. Block in Color
Using thick watercolor paint and a flat brush paint in the darker color values leaving the lights of the focal point. Mid tones fall into the dark value. Forget local color and local values...this is a tough concept for me to do. Each new shape gets a new color. Polly lets her color choices have free rein, whatever color she likes she uses. That alone frees up some of my brain cells to make painting more fun. It is a process of warm vs. cool color contrast.
Step 3. Reclaim the Lights
Using a clean brush with clean water re-wet the light areas of the painting then swipe off the paint with a tissue or paper towel. This is nerve wracking after you put all that attention into blocking in the colors but it does make the colors sing. |
 |
First Swipe.
|
 |
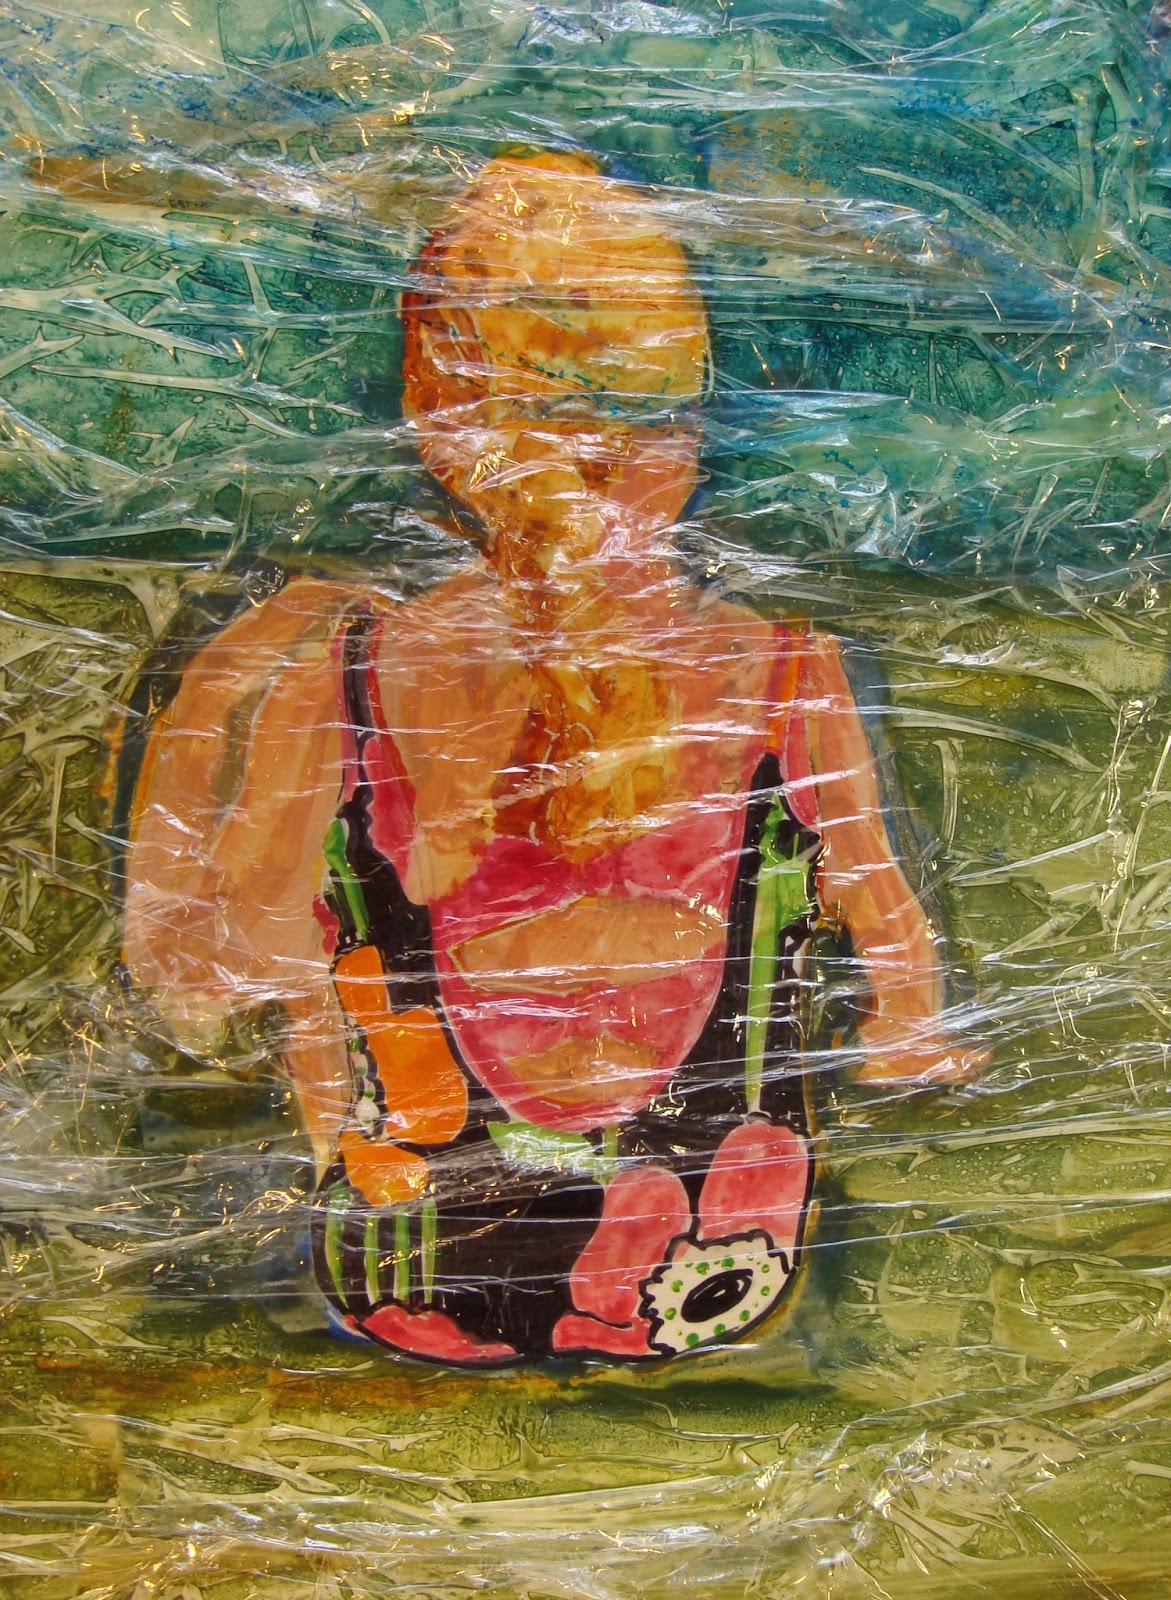
| Adding pattern with ClingWrap. |
 |
| Remove Cling Wrap. |
A
dding pattern to add interest.
Polly places wax paper over the painting cutting out the areas she wants to stamp a design for interest and contrast. Add a thick layer of paint onto the stamp and place over background dark areas. It should be a different color but within the same value and color temperature.
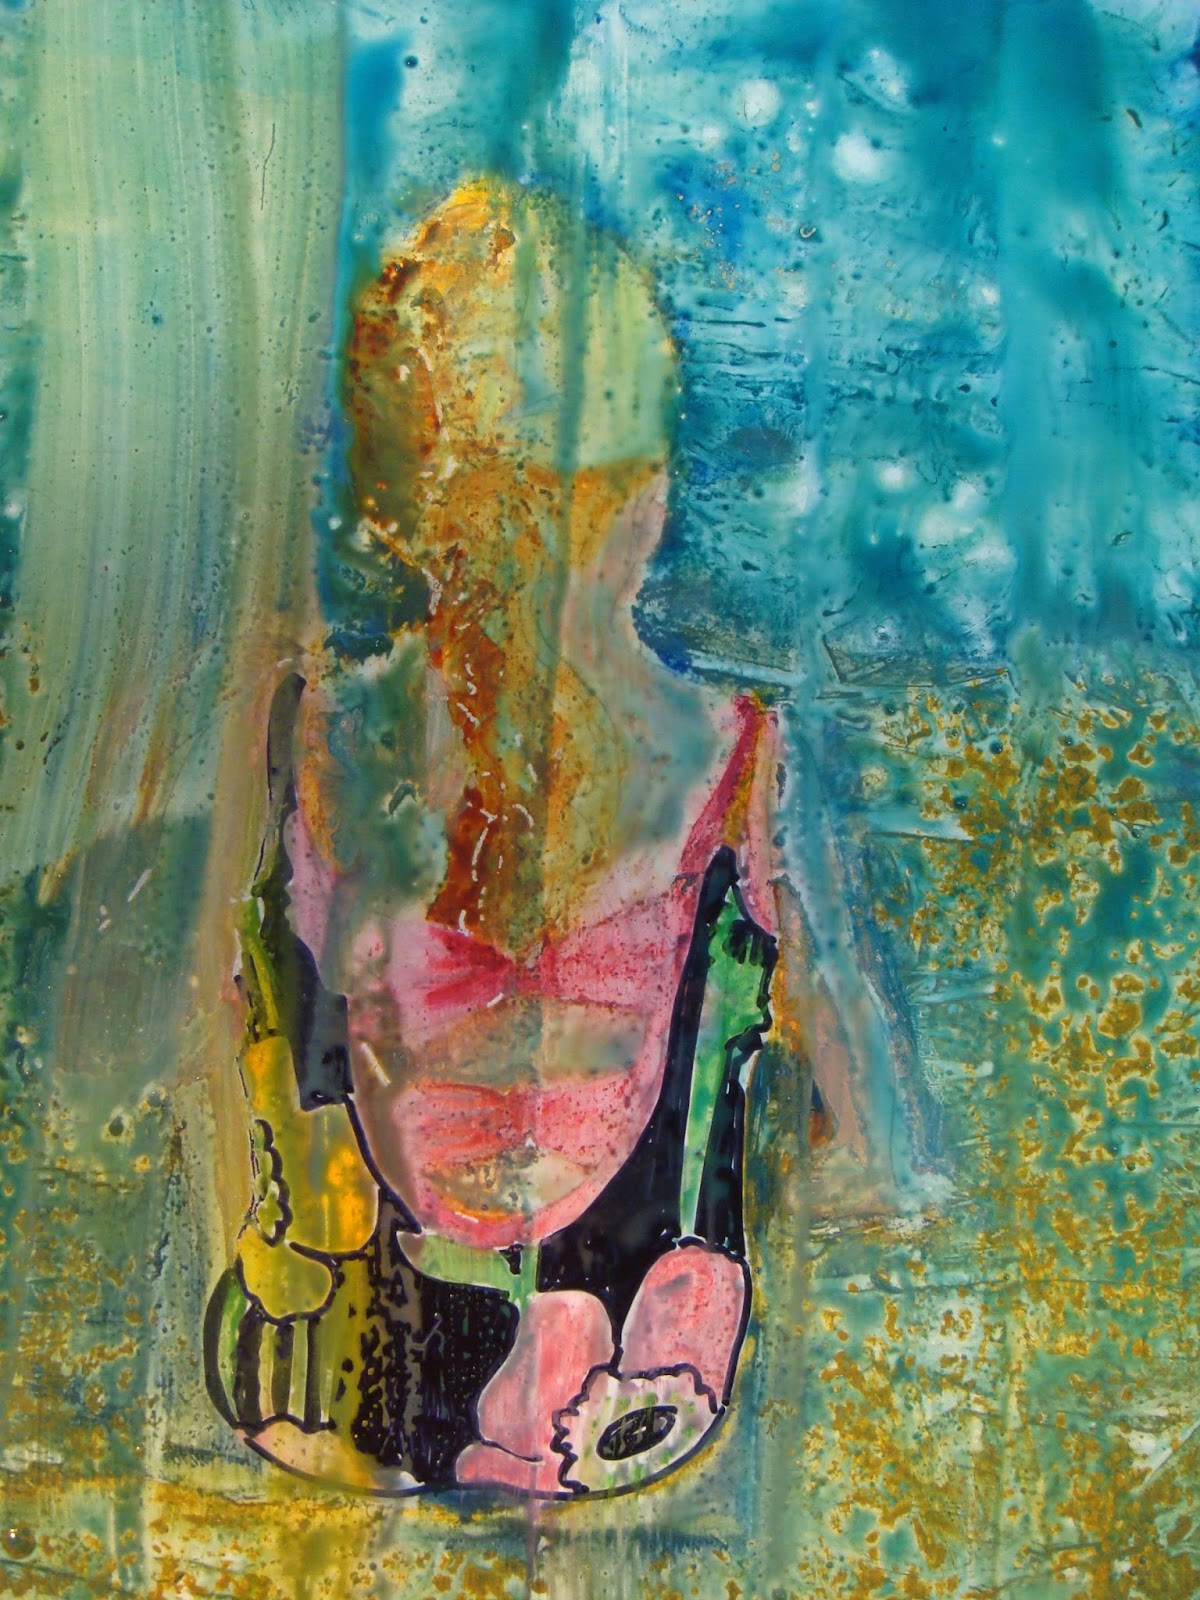
Step 4. Glazing
This took me totally by surprise! Polly glazes over the whole painting with a watered down blue, green, yellow or even an Opera. It unifies the painting but I sort of liked it before the glazing. One swipe of the paint brush or all the colors with dissolve and you have mud.
 |
| All my work died right in front of my eyes. Thank heaven I can wipe it all off and start over with some experience behind me. I do enjoy experimenting with art techniques but I hate failure. Maybe I will skip this step in my next try. If I had used watercolor paper I think this step would have worked. |
 |
FAILURE :(
I never got to step 5, the fun part.
And so I will try again maybe using different surfaces such as watercolor paper or vellum (on order) also acrylic paints might work better for me.
|


